MFT (Managed
File Transfer) is out of box functionality introduced in Oracle SOA 12c. By
using MFT we can securely exchange the files between two internal or external
points. In this post, we will see how to transfer one sample file from one
local folder to another local folder. You can also transfer the file to any
other point like FTP, SFTP etc but for simplicity we took local folders.
Let’s start with
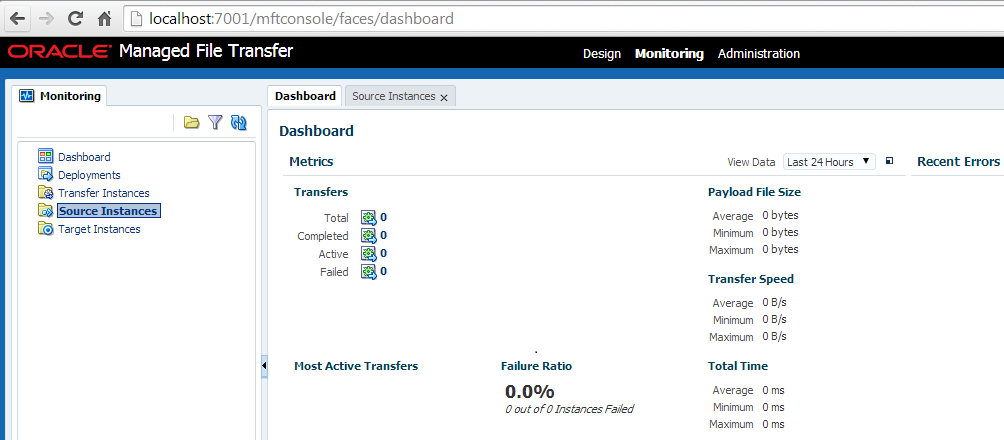
the exercise, first open the MFT console by going to (http://host:port/mftconsole) link. You
will see below screen, at the top you can see three links. Design link is used
by developer to do define required parameters to transfer the file. Monitoring
link is used to monitor the file transfer and administration link is used for administration purpose.
Click on Design
link and now we define the source parameters where we place the sample file and
MFT pick it from here. As mentioned earlier we are using local folder for
source so we give source a name and choose “File” from drop down list. You also
need to specify folder path.
As shown in below screen shot, you can also set advance properties for source.
Now as we define
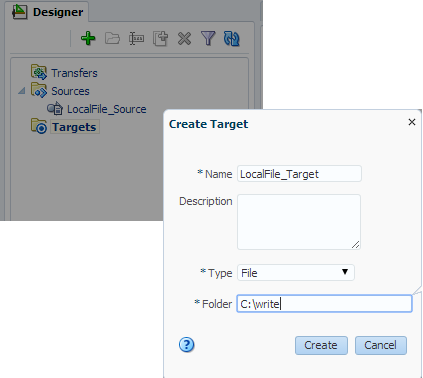
the source, define the target as well. We again choose file from drop down list
and provide the folder path. As mentioned above again we use local folder for
target so MFT will pick the file from source path and place it at target
folder.
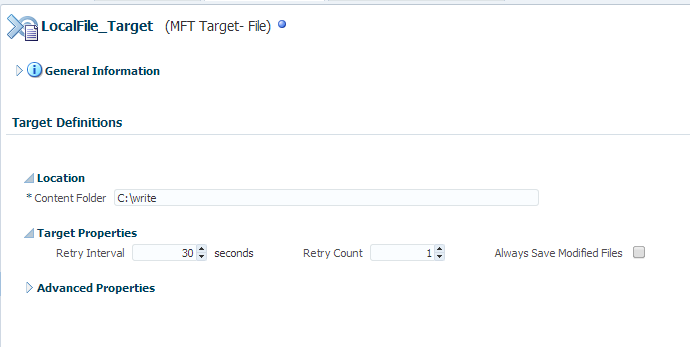
As shown in
below screen shot, you can set advance properties for target.
Once you define
the source and target, next step is to define the transfer. In ransfer, first
provide the transfer name, note that transfer name should be meaningful, it
should be like , we can easily recognize what are source and target points
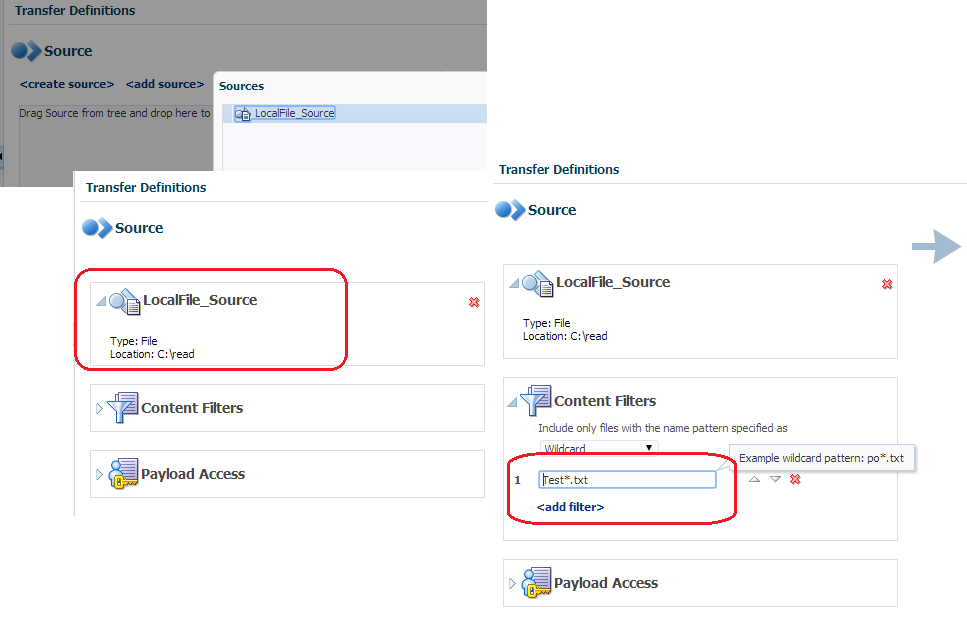
involved in this transfer. Click on create, you will see transfer definition screen pops up. In this screen we choose required source and target.
In above screen,
click on add source link and choose above created source. Now we need to specify
the file name which we need to read from source folder. To do that click on
content filters and choose wildcard from dropdown and specify file wildcard
pattern.
Now we choose
target, to do that click on add target link and choose before created target.
Now we need to
define the schedule, this schedule triggers the MFT transfer from source to
target. To define the schedule click on add schedule link and fill required
scheduling details.
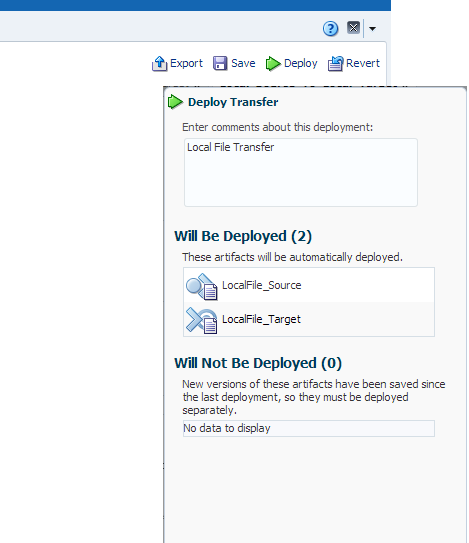
Once done click
on save, now next step is to deploy newly created MFT transfer to server. This
will enlist all the artifacts which will get deployed to the server.
Now place the
file at source folder and this file should be picked by MFT to transfer it to
target folder. You can also monitor this file transfer, to do click on
Monitoring tab as shown in below diagram and choose the transfer instance which
you want to monitor.
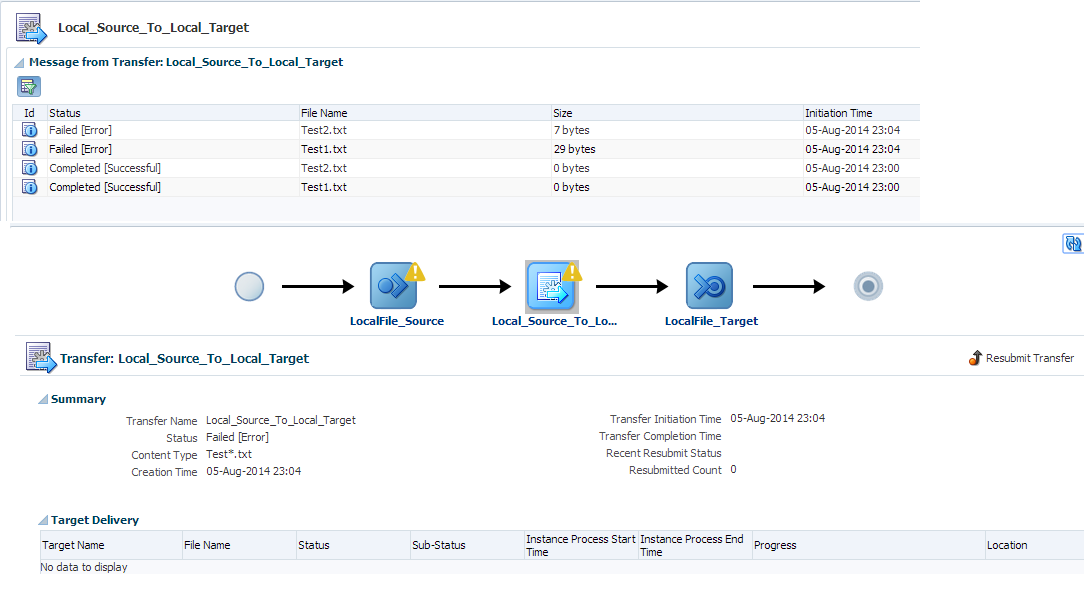
As you can see
in below screen shot , file transfer got failed and below screen show the file
transfer status. There is also one option to re-submit the file transfer.
